- Ask the participant to rest their head on the Polhemus and to keep their head as still as possible. During digitisation they will also need to keep quiet and keep their head resting on the head rest until you tell them that the process is complete.
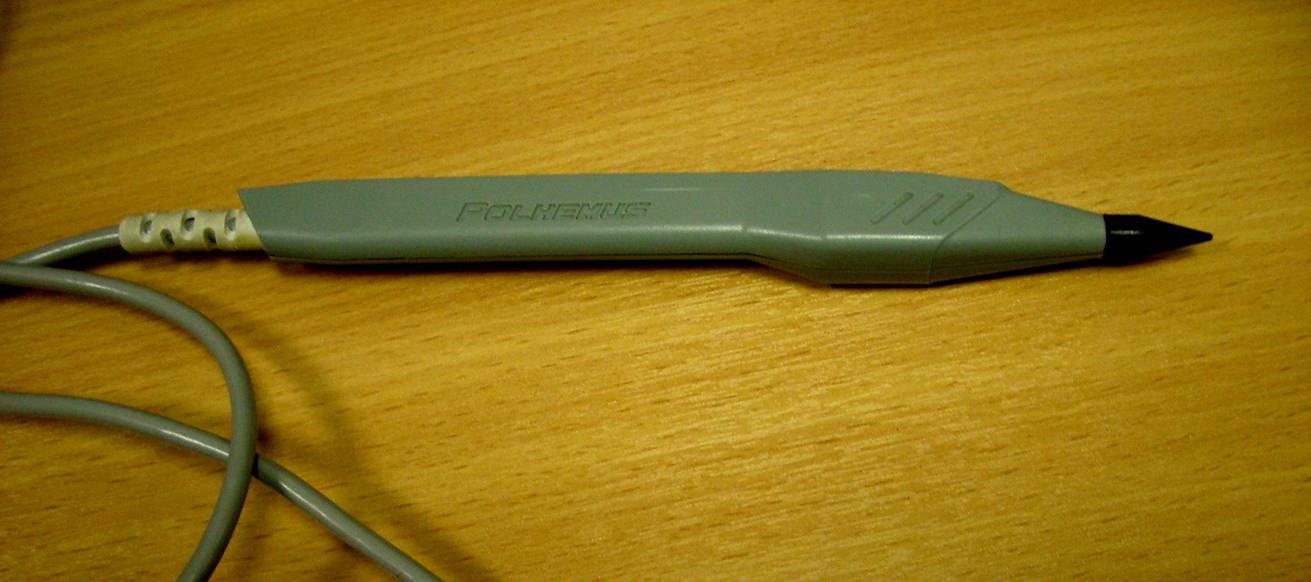
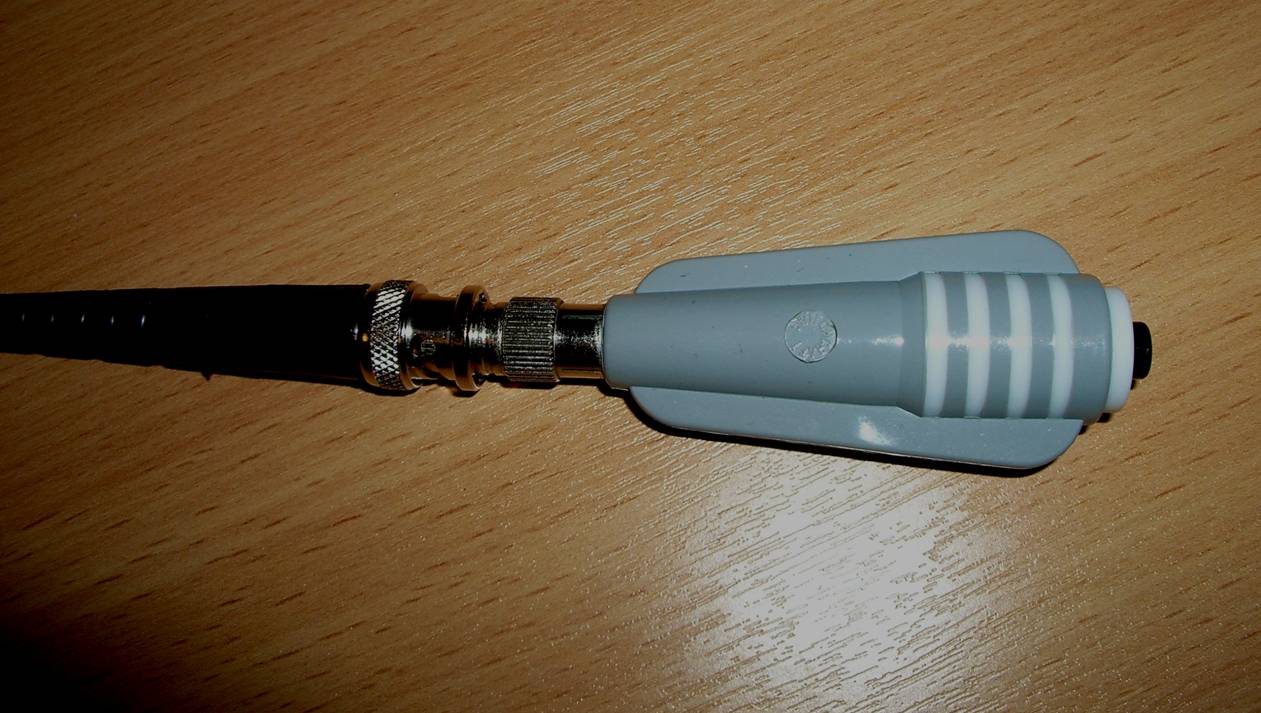
- Use the Polhemus stylus to digitise the participant’s head
shape, see Figure 7.5. Place the point in the centre of a coil and press the
Polhemus button to record the location; a ‘beep’ informs you the
location was recorded, see Figure 7.9. The order of entry is as follows:
- Left PA.
- Right PA.
Nasion.
N.B. Note that this reading is not taken from the coil but from the bridge of the nose.
- CZ (left-hand side of the head).
- Inion (right-hand of the head).
- Press the button once to accept. Your will hear two BEEP-sounds.
- The above procedure is then repeated.
- Press the button once to accept and verify discrepancy. A maximum discrepancy of less than 0.2 cm is ideal. If the discrepancy is greater than 0.3 cm, it is recommended that the procedure be redone. The software will explain how to restart.
- Press the button once to enter digitize mode. You will hear one BEEP-sound.
At this point the computer will inform you that the Polhemus stylus is in “off” mode.
- Ask the participant to close their eyes.
- Place the tip of the stylus on the participant’s head and press the Polhemus push button to go into “on” mode.
- Draw out the participant’s head shape: First trace an outline of the participant’s eyes and nose. Next draw a series of undulating lines across the forehead, scalp and back of the participant’s head to ensure a good head coverage.
- Whilst in “on” mode ensure that the stylus is constantly in contact the participant’s head. If you need bring the stylus away from the patient’s head during the drawing process, go into “off” mode by pressing the Polhemus button.
- When you are satisfied with the head shape press twice to accept. You will hear a BEEP-sound.
The coil positions are now entered. The megmap computer will “beep” when the reading has been taken.
- Coil 1 – LPA.
- Coil 2 – RPA.
- Coil 3 – Nasion N.B. the reading is now taken from the actual coil.
- Coil 4 – Cz (left-hand side of the forehead).
- Coil 5 – Inion (right-hand side of forehead).
- Click once to accept.
- The digitisation window will close.
- Remove the Polhemus head rest.